crafts

Quinceañera Masquerade Centerpiece

On December 2016, my family and I celebrated my sister’s Quinceañera with a Masquerade Party. I made everything, from the invitations, centerpieces, party favors, big Mask, etc. It was really fun and easy to do. 

Most of the materials like the dolls, the archs, styrofoam circles and flowers, I found on a website called http://www.lacrafts.com. The masks, pipe cleaner, kebab sticks, where at the dollar store. The paint andrhinestone ribbon were in Walmart. 

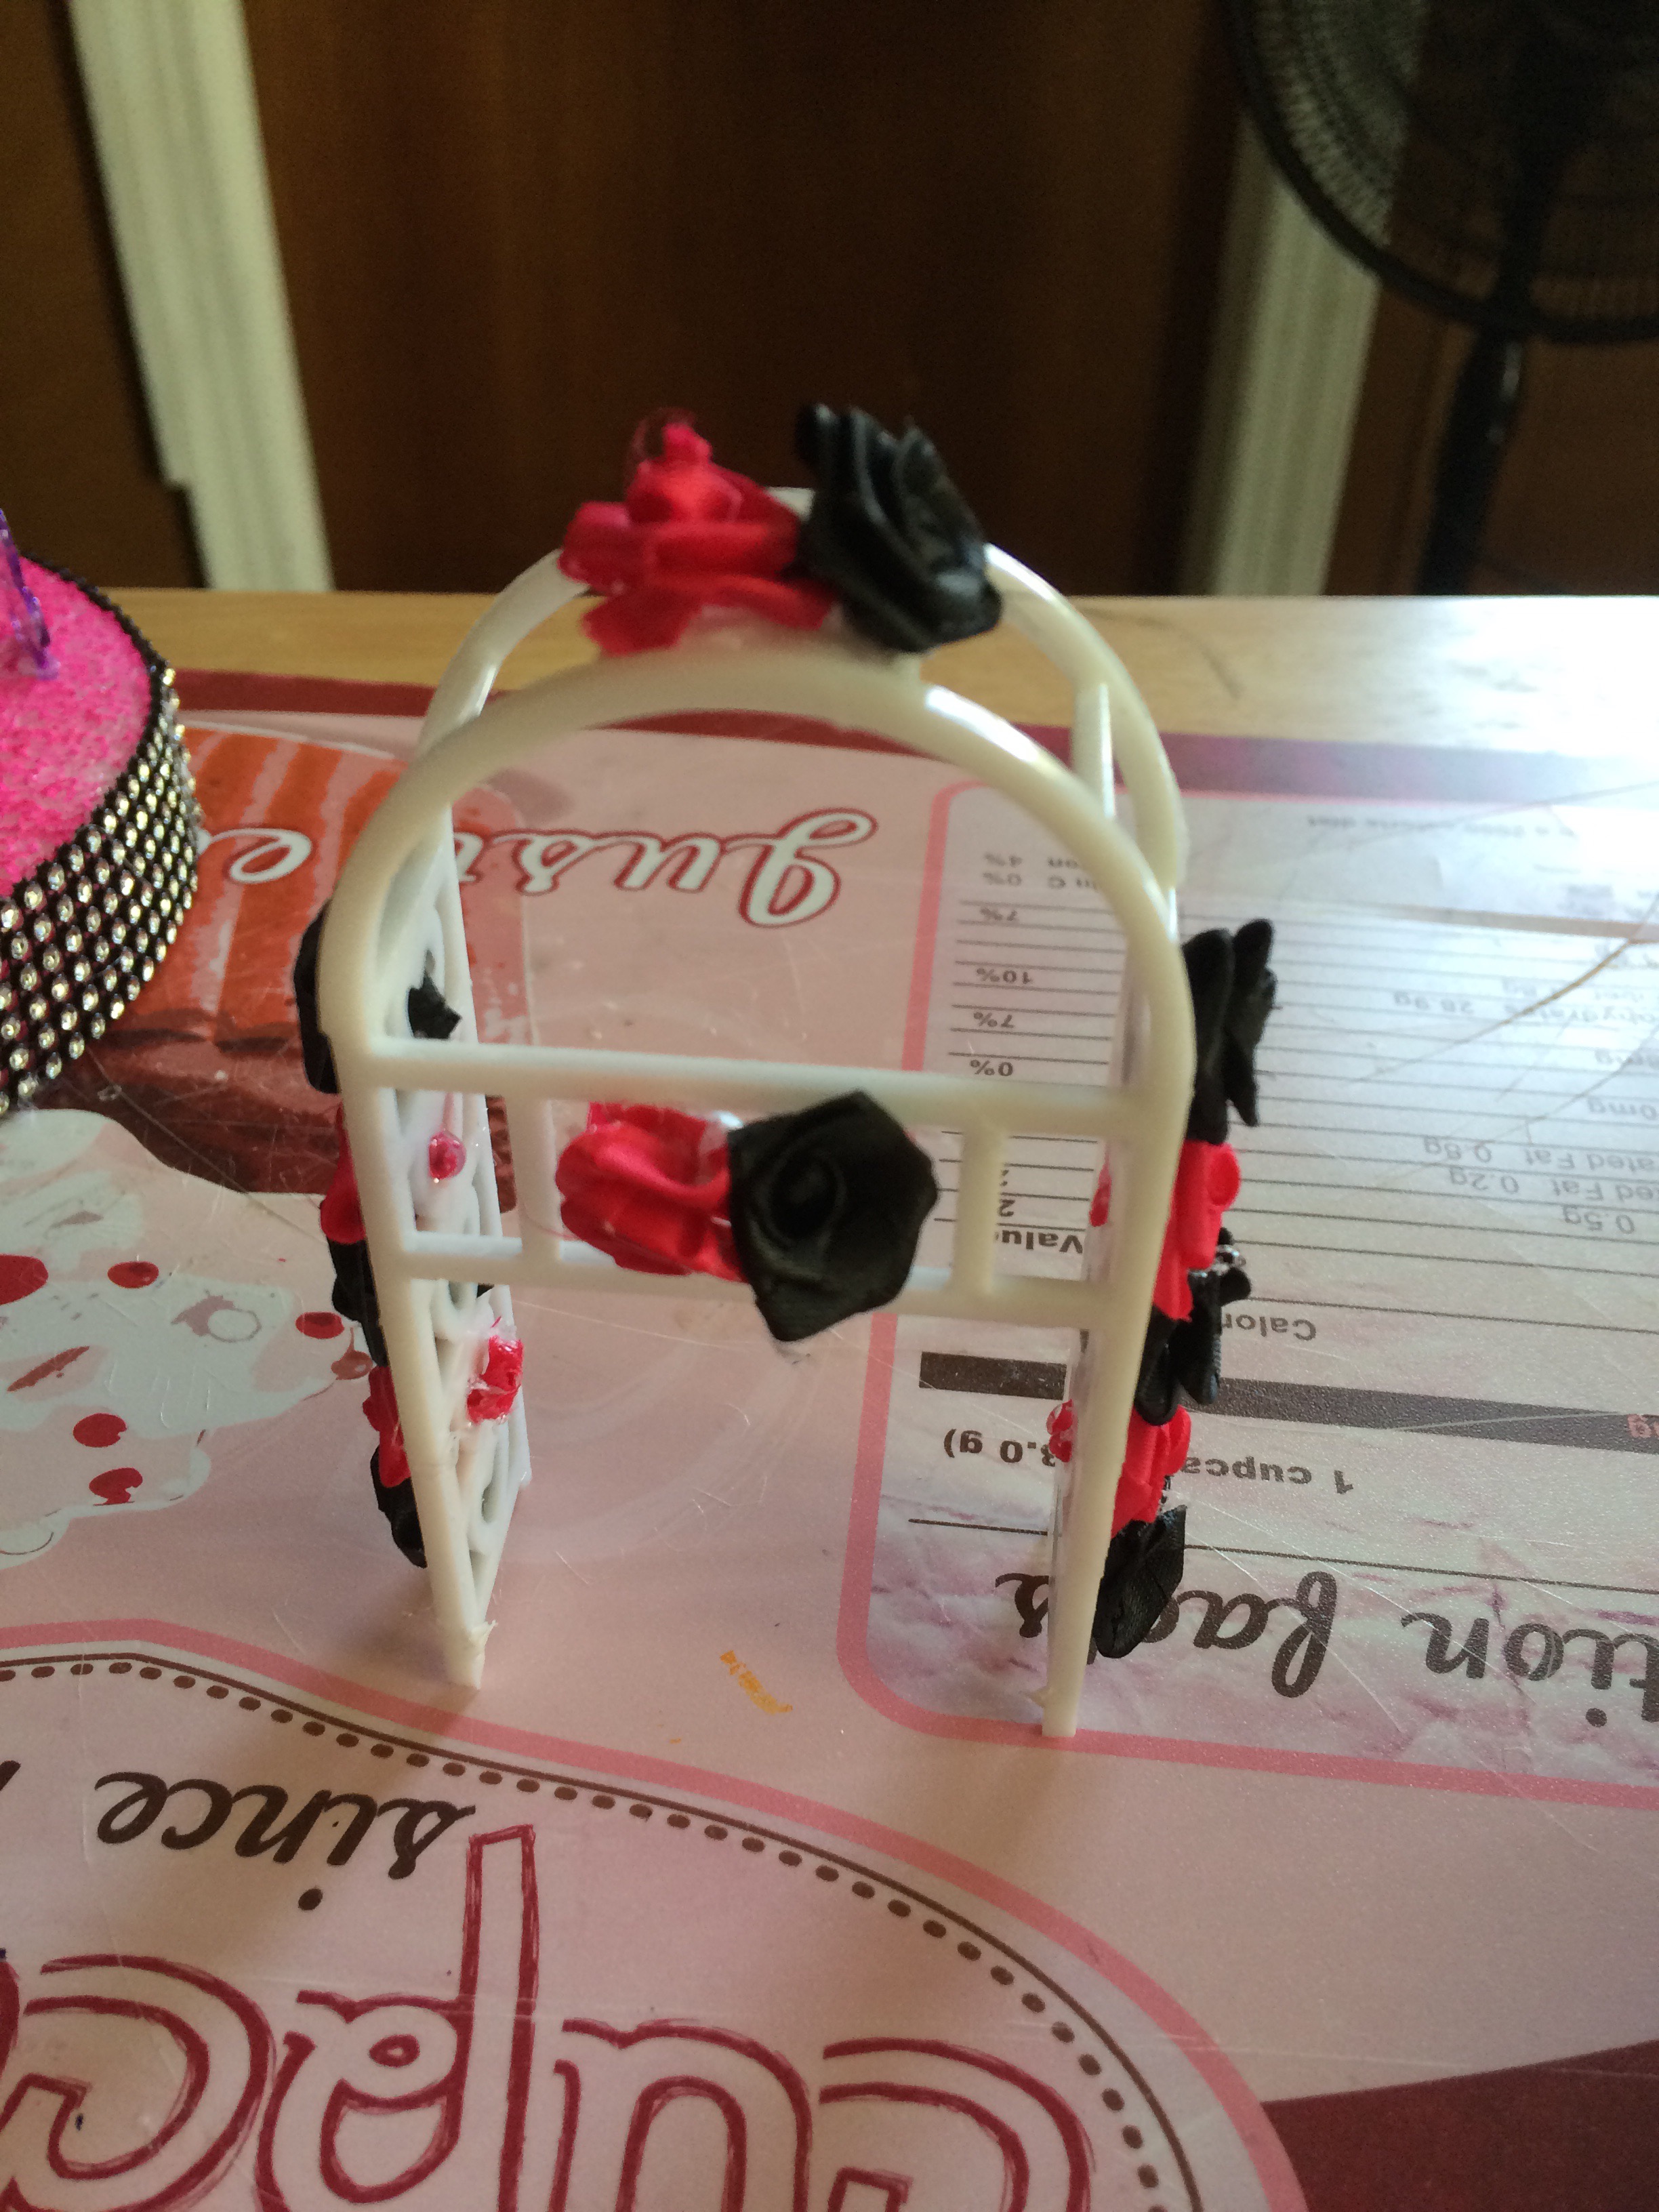
The colors for the quinceañera were fuchsia and black.

Let’s start with the project!

Materials:

Steps:

  1. Paint the styrofoam disk with the fuchsia paint and a sponge brush. It doesn’t have to cover it completely, just a little paint to give it color. Wait until it dries completely.
  2. Glue the rhinestone ribbon to the border with a little hot glue.
  3. Practice putting everything in the place you want before gluing it. I separated the base from the archway and use it as a candle holder.
  4. For the mask, I gluedone kebab   stick in each side and cover them with pipe cleaner. I also glued a feather in each side amd  cover it with another plastic less elaborated mask found in the Dollar Store in the other side to make it 3d because the tables used were round.
  5. Glue everything on place.
  6. Decorate the candle with some ribbon and a flower. Glue it to the base and put a necklace covering around it.
  7. I also decorated the archways with flowers. 
  8. Stick the mask pushing it against the foam until in place.
  9. Add desire embelishments. I used some Sweet 15 embelishments that I found on my local Farmers Market, but L.A. Crafts also have them.

Change the colors for the ones of your party!

You can also make this for a wedding taking out the mask and changing the Quinceañera doll for a bride and groom figurine

Hope you liked it and don’t forget to share!

Standard
Uncategorized

Mini Cake Stand

I have an order that includes a mini cake and I was thinking on buying a cake stand. After looking for prices, I decided that I can do it myself for much less money. So, I went to the Dollar Store and found some candle holders that are the perfect size to hold a round cake up to 4″. Then I went to Walmart and bought a strong glue to put it together. Let’s see the step by Step.

Materials: 

  • Glass candlestick holder
  • Glass Pillar Candle Holder (I used round, you can use square too)
  • E-6000 or any other strong glue that dries clear.

Step by Step:

  1. Clean with alcohol de bottom part of the Pillar Candle holder and the top part of the candlestick holder. This will help to clean any oils or dirt that prevent it to glue together.
  2. Meassure to make sure where is the middle and mark it with a washable marker.
  3. Sand the places your are going to glue them together with sand paper. Clean with alcohol again.
  4. Put some glue in the candleStick holder and glue it to the center of the pillar candle holder. Put something a little bit heavy to make pressure and help them stay in place. Let dry for at least 24 hrs.

There you go! You have a cake Stand. 
If you liked this post, share it with your friends!

Standard
crafts, Uncategorized

Aloe Soap


When I was in my teen years, I suffered from Acne almost all the time. I read that Aloe is a good antibacterial and antiseptic, and that is good to treat skin problems like Acne. My mom had the most biggest and beautiful Aloe plant. So, I decided to buy some soap base and make my own soaps to treat my acne. 

Recently, I have started making them again as a petition from my husband to prevent the itchy and dry skin caused by the winter. Here is how I make it.

Supplies:

  • Clear soap base (glycerin or Olive oil) Found at Michael’s
  • Whole Aloe Leaf (found at the grocery store)
  • Essential Oils (optional and in accordance with your preference) I used tea tree because is good in the skin too.
  • Wood pick or spoon
  • Soap mold

Procedure:

  1. Peel the Aloe leaf and take out the pulp (gel) with a knife. Put in a bowl and blend it with a hand blender or any blender until the gel forms without any solid pieces.
  2. Melt the soap base in a double boiler. When it is melted, add the aloe gel and the essential oil and stir it with a wood pick or spoon. Put on mold and let solidify. Now you have your own aloe soap.

**Remember to use essential oil and not fragance oil** 

Standard